Heellllooooo from South Carolina! 
I think I forgot to mention in any of my recent posts that I was going to be on a week-long vacation, but nonetheless, here I am!  My family and I decided that we were going to go somewhere different than usual. We are here in Hilton Head, South Carolina, a place that someone my mom works for goes to a lot, so my mom thought it would be nice to venture somewhere that we haven’t gone before.
We usually go to Daytona Beach, Florida, since we own a timeshare there that is right on the beach, and we just like to relax and lay out on the beach for most of the week. We’ve always gone there for our annual family vacation since it’s something that we all know and like (which is rare for a family of six!). I know a lot of people go on vacation to go and explore new places and experience new things and keep busy busy busy! Our family is quite the opposite; we like to make our vacation the getaway from the daily grind and from being so busy with everything that we do. We’re so burnt out from all of that that we just like to lounge around and be lazy. 
On vacation, we like to sleep in late, and then when everyone wakes up, we always make a huge breakfast. At home, my mom is the one that cooks dinner, but it’s her vacation too, so everyone chips in. I always make the pancakes (my favorite!), my dad cooks the bacon, my sister makes biscuits and gravy, and my mom just sets the table and relaxes. She deserves a break; she cooks all the time for us, and I don’t think that we fully appreciate it.
So far South Carolina has been nice. It was a bit intimidating at first; we’re staying in this huge resort and they have tons of different activities and things to do, but since the resort is so friggin’ huge, you have to drive to get anywhere. We then took a walk to the beach, which in itself was different; we usually take two steps and we hit sand! It was soo crowded.
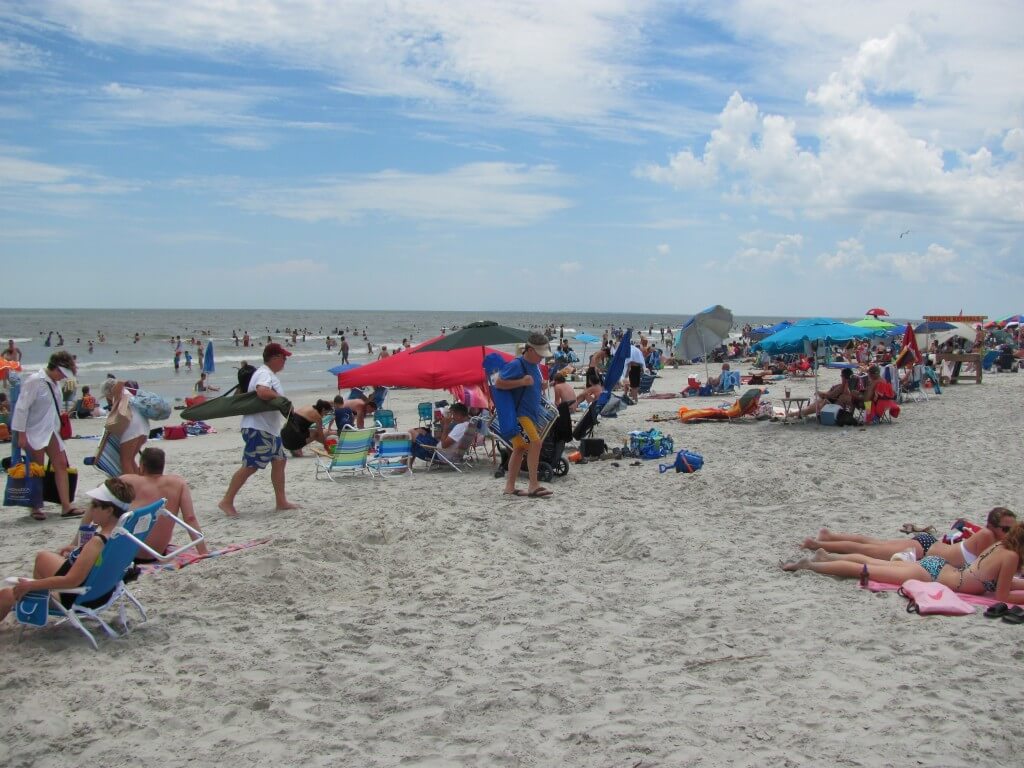
I was a bit disappointed and was not looking forward to the next week. I think I was just not in a good mood to begin with because it took us fourteen hours to drive here, and everything was so different. I wasn’t used to it.
Today had been good though.  We slept in and cooked a big breakfast, like was always used to do and then we all put on our swimming suits and slathered on the sunscreen. We hit the beach! Let me just say, I’ve missed the beach so much. I think I must’ve been born on the beach or something because I can never get enough of the sand and the sun and the saltwater! It was just as crowded, if not more so, than it was last night, but we managed to find a bit of area that was our own and settled down.
Me and my brother, Ryan, built a sandcastle (if you call it that, haha):
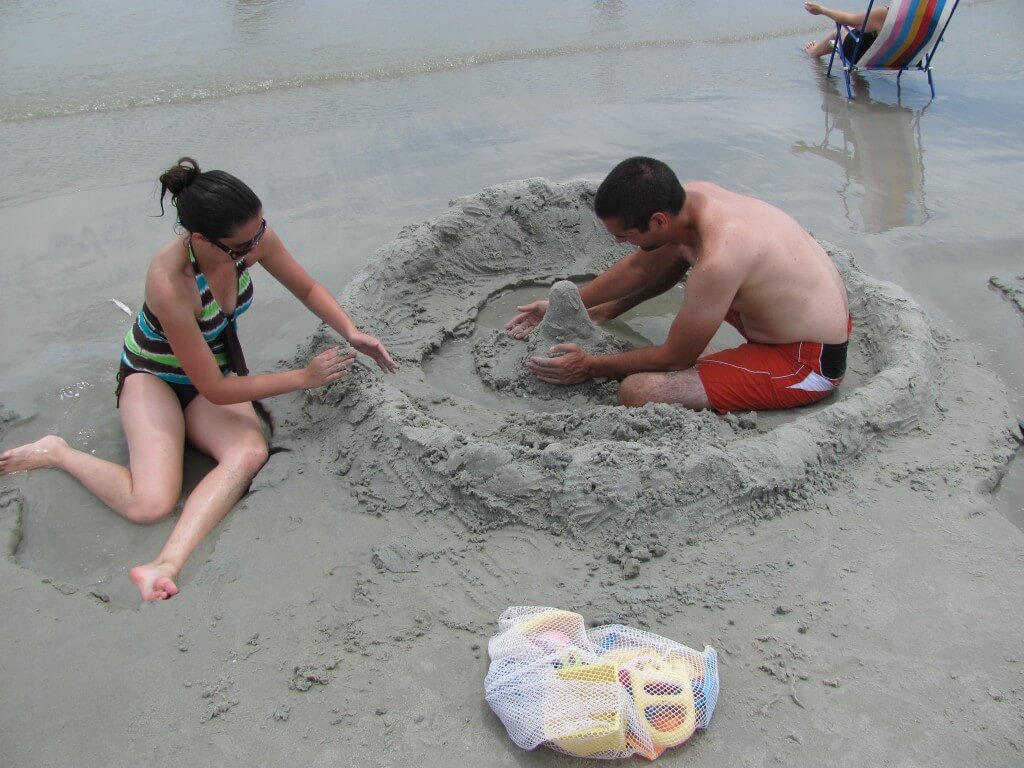
It was funny because every time a little kid would walk by, they would kind of stop in awe. It was kind of sad actually, because I didn’t think it even was that great.  We didn’t see any other sandcastles or other sand creations, which was kind of weird. I love looking at the ones other people have made– we usually see a lot!
So while I started the week a bit pessimistically, I think that I’ll enjoy myself on vacation.  Do you all go on a family vacation? If so, where do you go?
